
This is for my Jennie.
Somewhere in our travels Diane obtained a couple of car bibs for us. Since we eat in our car all the time (who doesn’t?) we use them all the time. I’ve threatened to take control of Diane’s sewing machine so I could take a shot at making a few of them, but that hasn’t happened, yet. Maybe soon.
While working toward that possibility, I’m sharing what I know with all of you knowing that many of you are crafty people who can fathom the intricate details required to make these a reality for yourselves.
.5First, you must obtain a piece of material that you won’t miss from the piles of scraps in one of your drawers. Actually, get two pieces. They can be any size, but the finished example is 14.25″ X 26″.


The scraps must be larger, of course, to allow you to stitch the pieces together, good sides facing each other. Once they are stitched together, you must devise a way to turn the material inside out. You already knew that, of course, and probably left a gap at the bottom, or side which can be closed with hot glue or wood glue, whatever is handy. You can also stitch it with the sewing machine.
I’m getting ahead of myself.
Once you have the material, you need to cut out a circle large enough to go around the neck of the person for whom you’re making the bib. Use the example as a guide.
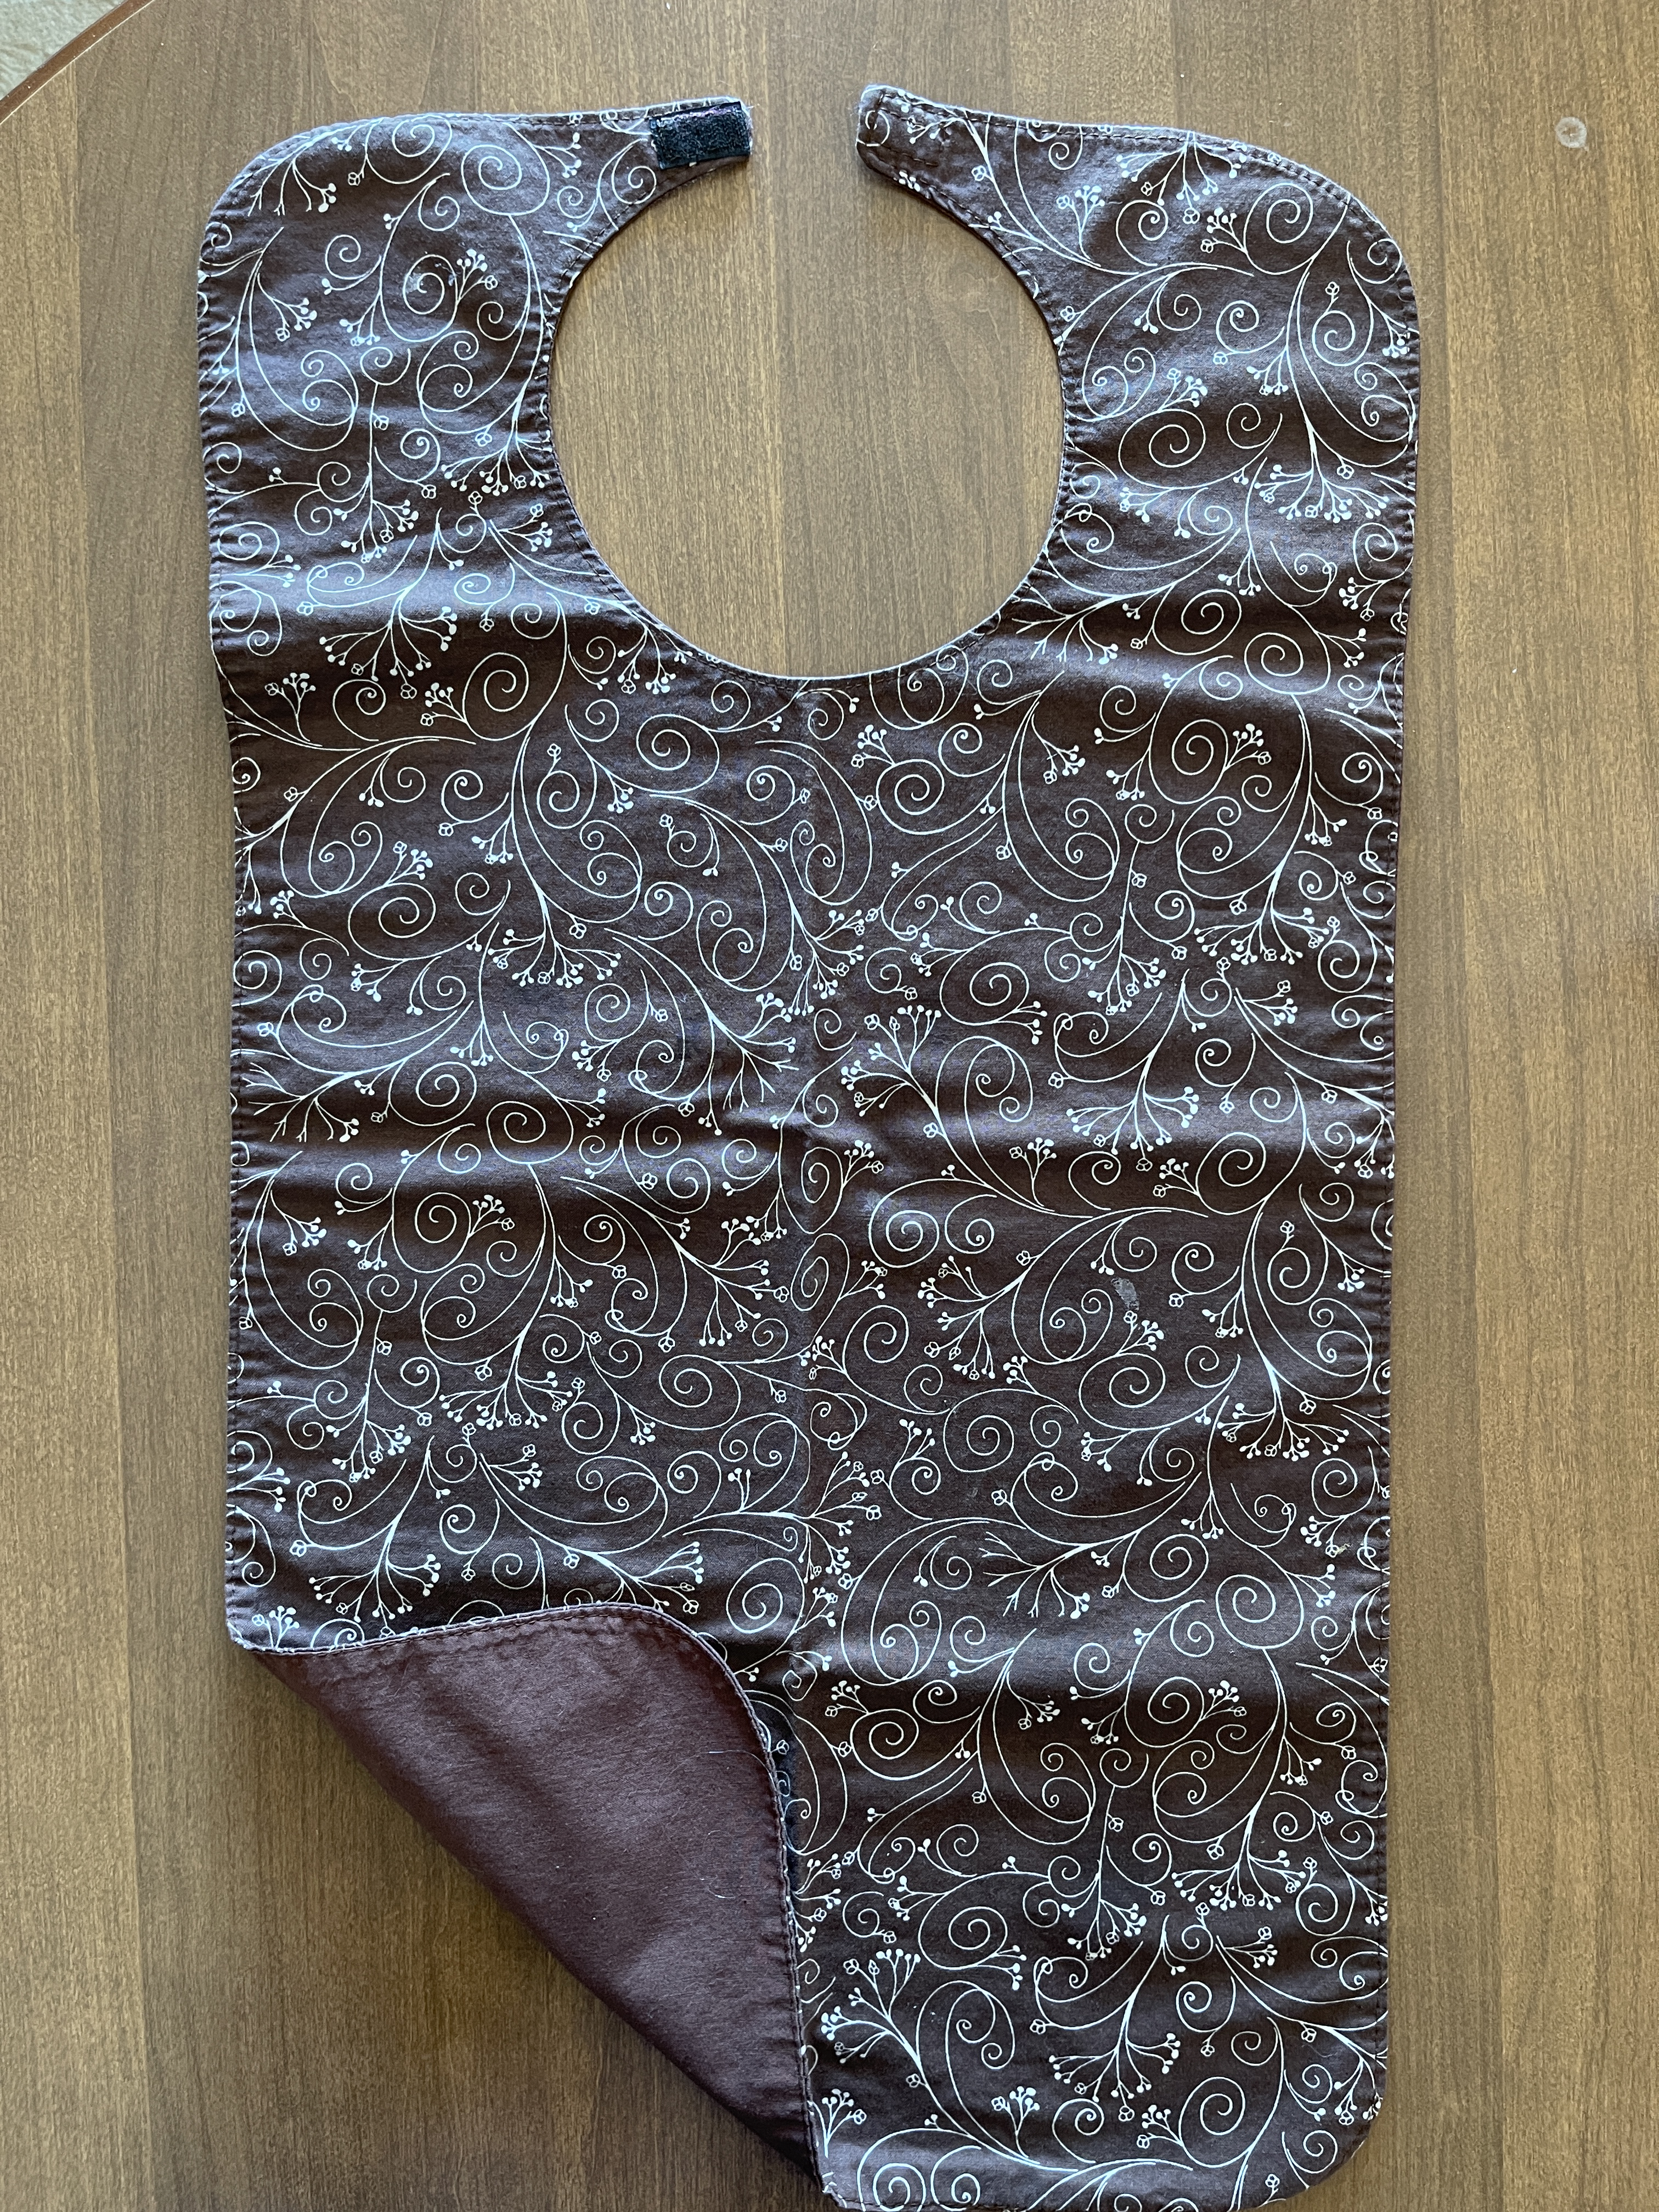
Once you’re done stitching it all together, and figured out how to get the thing inside out, dig around in your sewing supplies and find the velcro you bought six years ago. It’s in there. You just have to find it. Attach opposing pieces of velcro to the little tabs on the pieces that go around the neck opening.
Easy Peazy, right?
Now that I’ve shared all that, ETSY provides an easier way but it’s not as much fun as making them yourselves.
Show us pictures of what you’ve done.
